RU
RU EN
EN ES
ES IT
IT UA
UA PL
PL KO
KO AL
AL FR
FR DE
DE TR
TRTo use OTP you need a device with Android OS with Internet connection.
Also, please, make sure that a date and time in the device settings are correct.
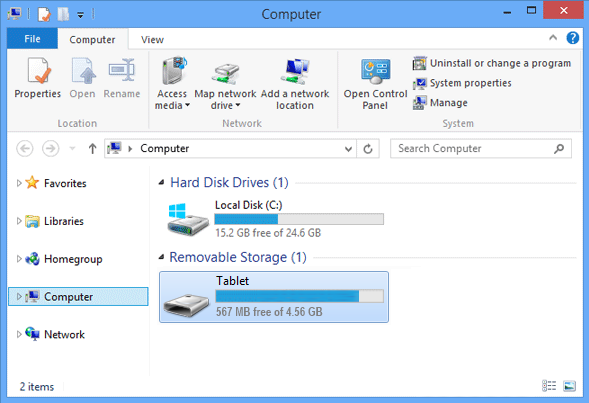
Download android.apk from our server. Connect your Android device to your computer using USB. Open “My computer” and select the connected device.
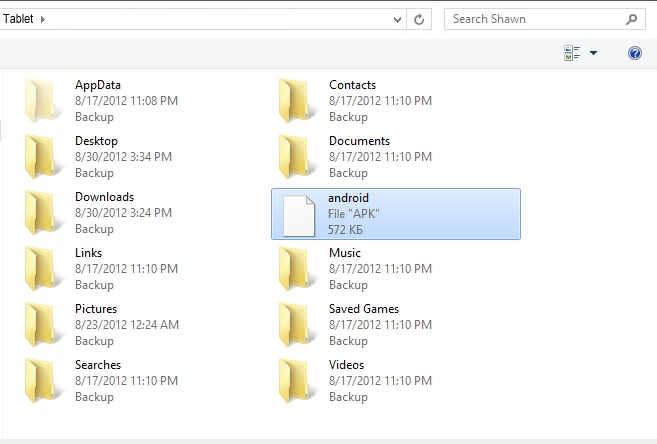
Copy the downloaded file android.apk to your device memory.
Disconnect the device from your computer.
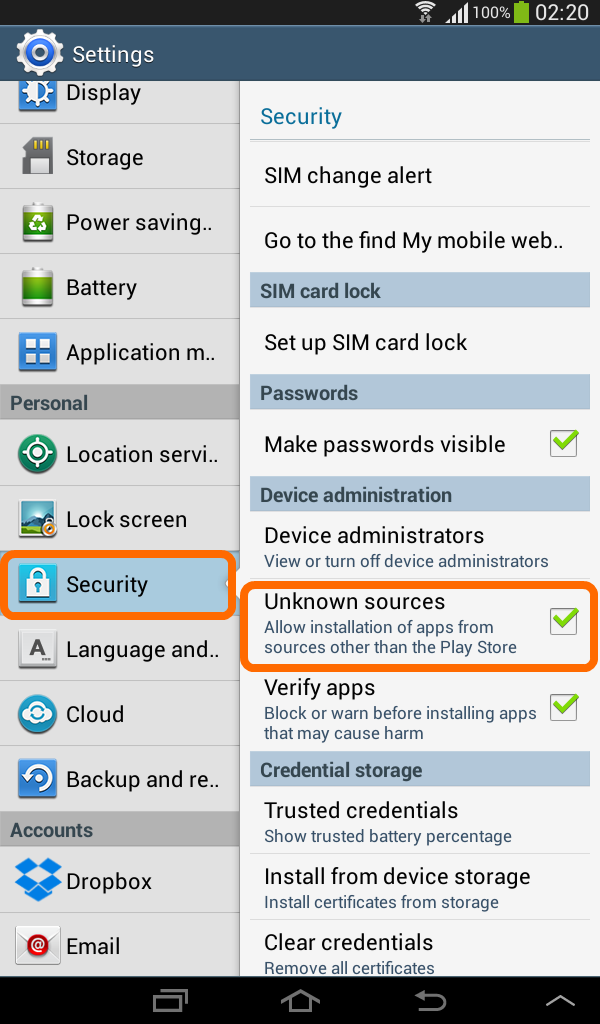
Go to the settings of your device, select “Security” and check “Unknown sources”.
Find the application “My Files” or any other file manager on your device.
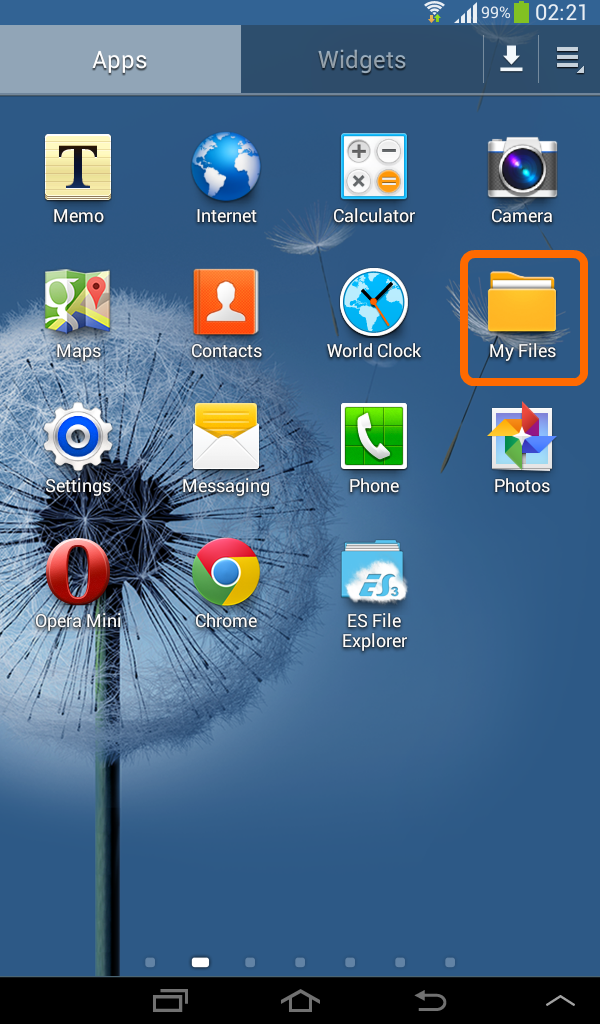
Select Android.apk.

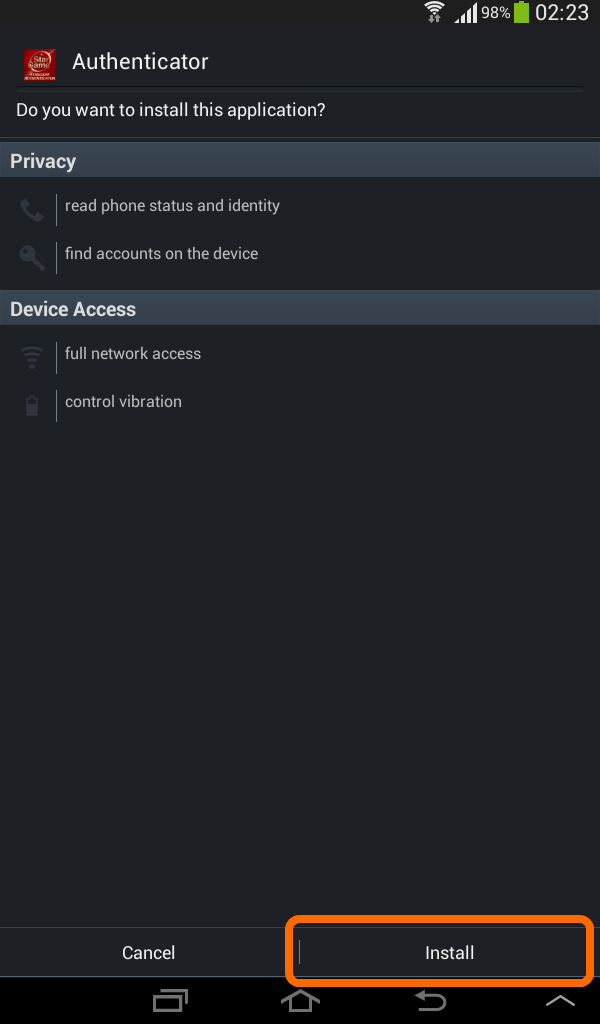
Click “Install” in the setup window.
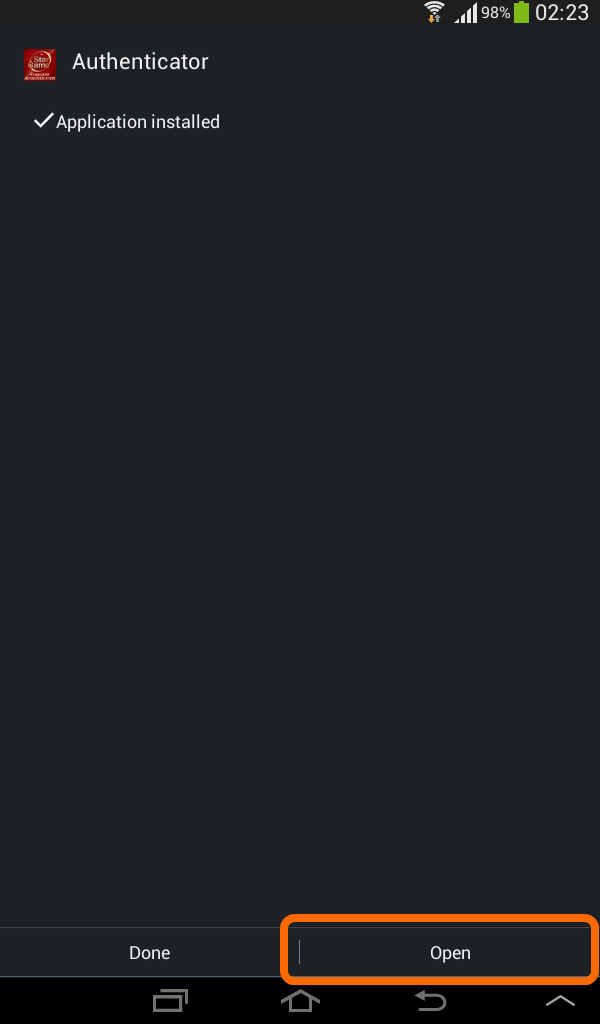
Wait until the installation is finished and click “Open”.
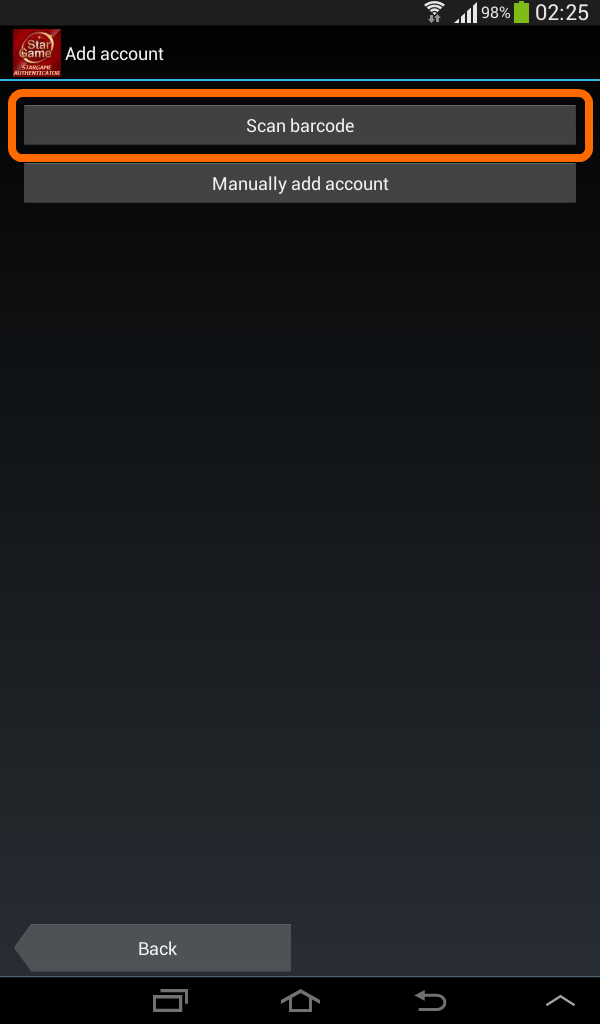
When the application opens, click “Add Account”.

Select “Scan barcode”.
If your device does not have any installed barcode scanner, the program will request for installing it.
Barcode scanner installation is made once at the first start of the application. If your device already has installed barcode scanner, the application will skip the installation and start scanning.
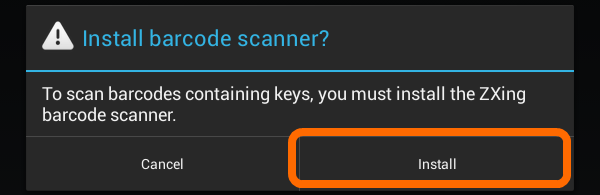
If the scanner installation is required, you will see a notification. Click “Install”.
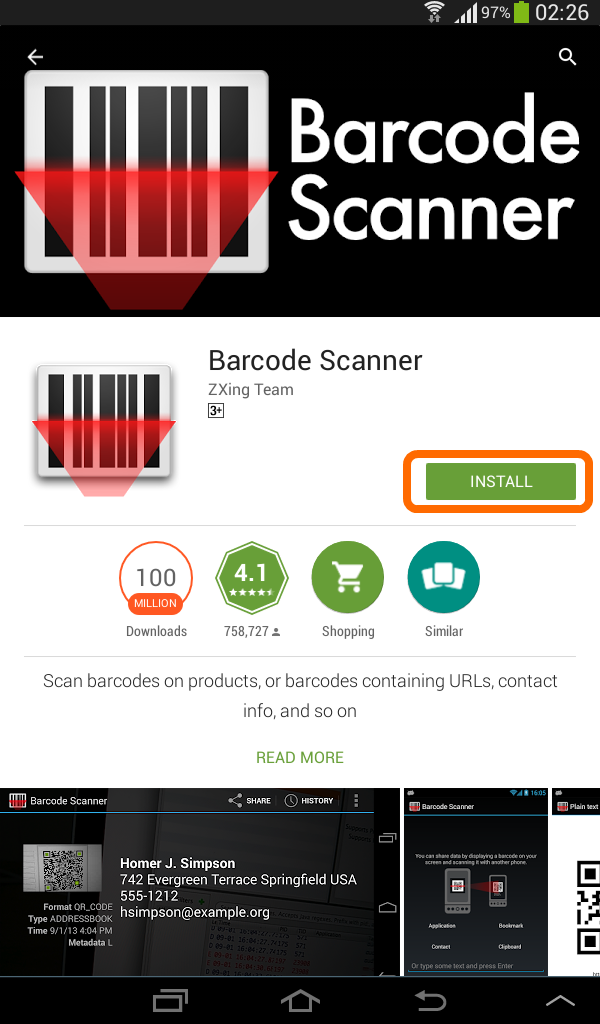
You should choose a scanner in the opened application store.

Click “Install” on the page of the selected scanner.
Click “Accept” in the opened window.
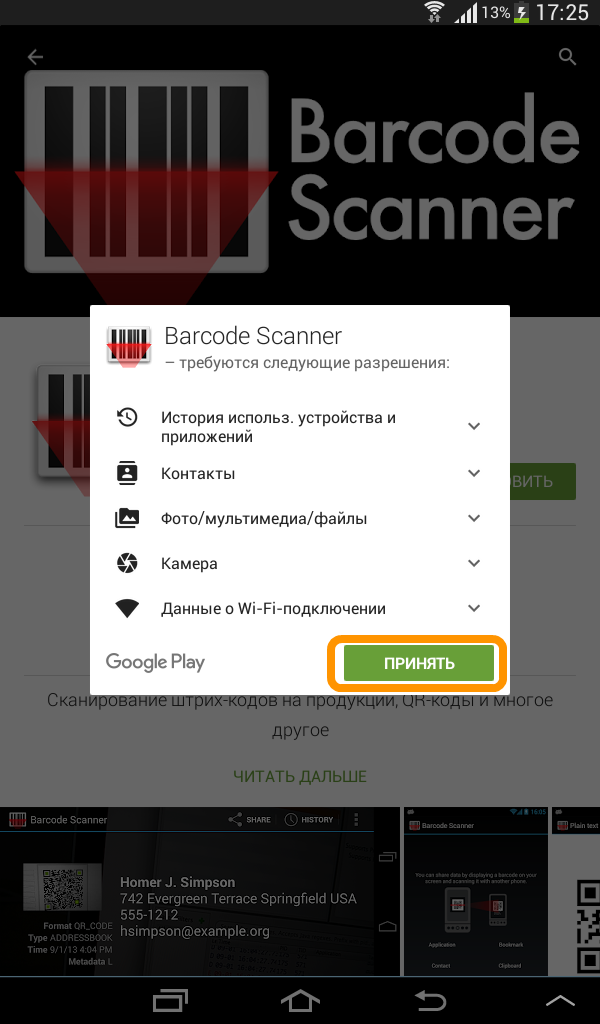
Wait until the installation is finished.

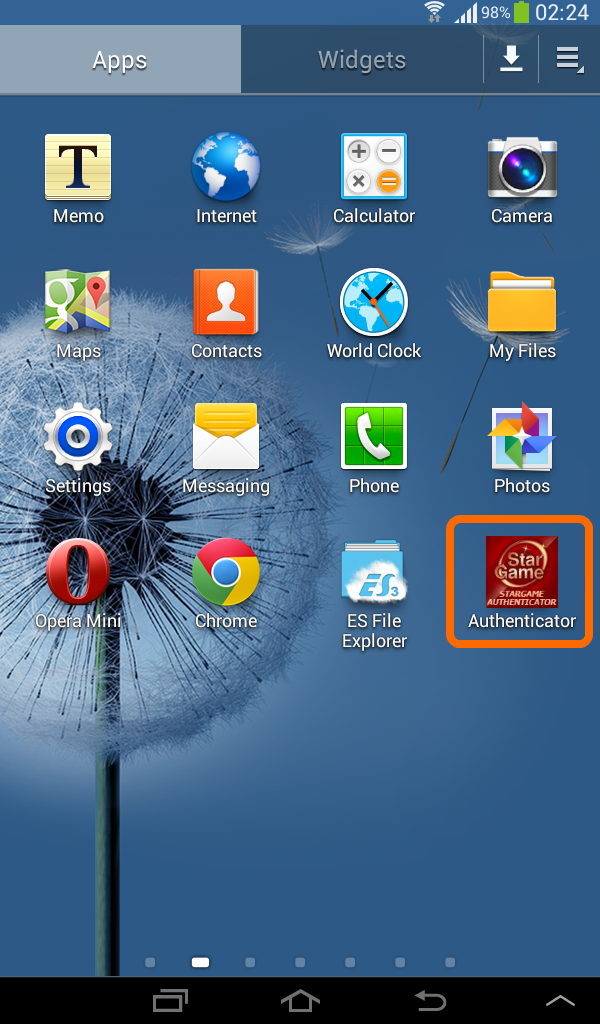
Find “Authentificator” in the application menu of your device.
When the application opens, click “Add account”.
Select "Scan barcode".
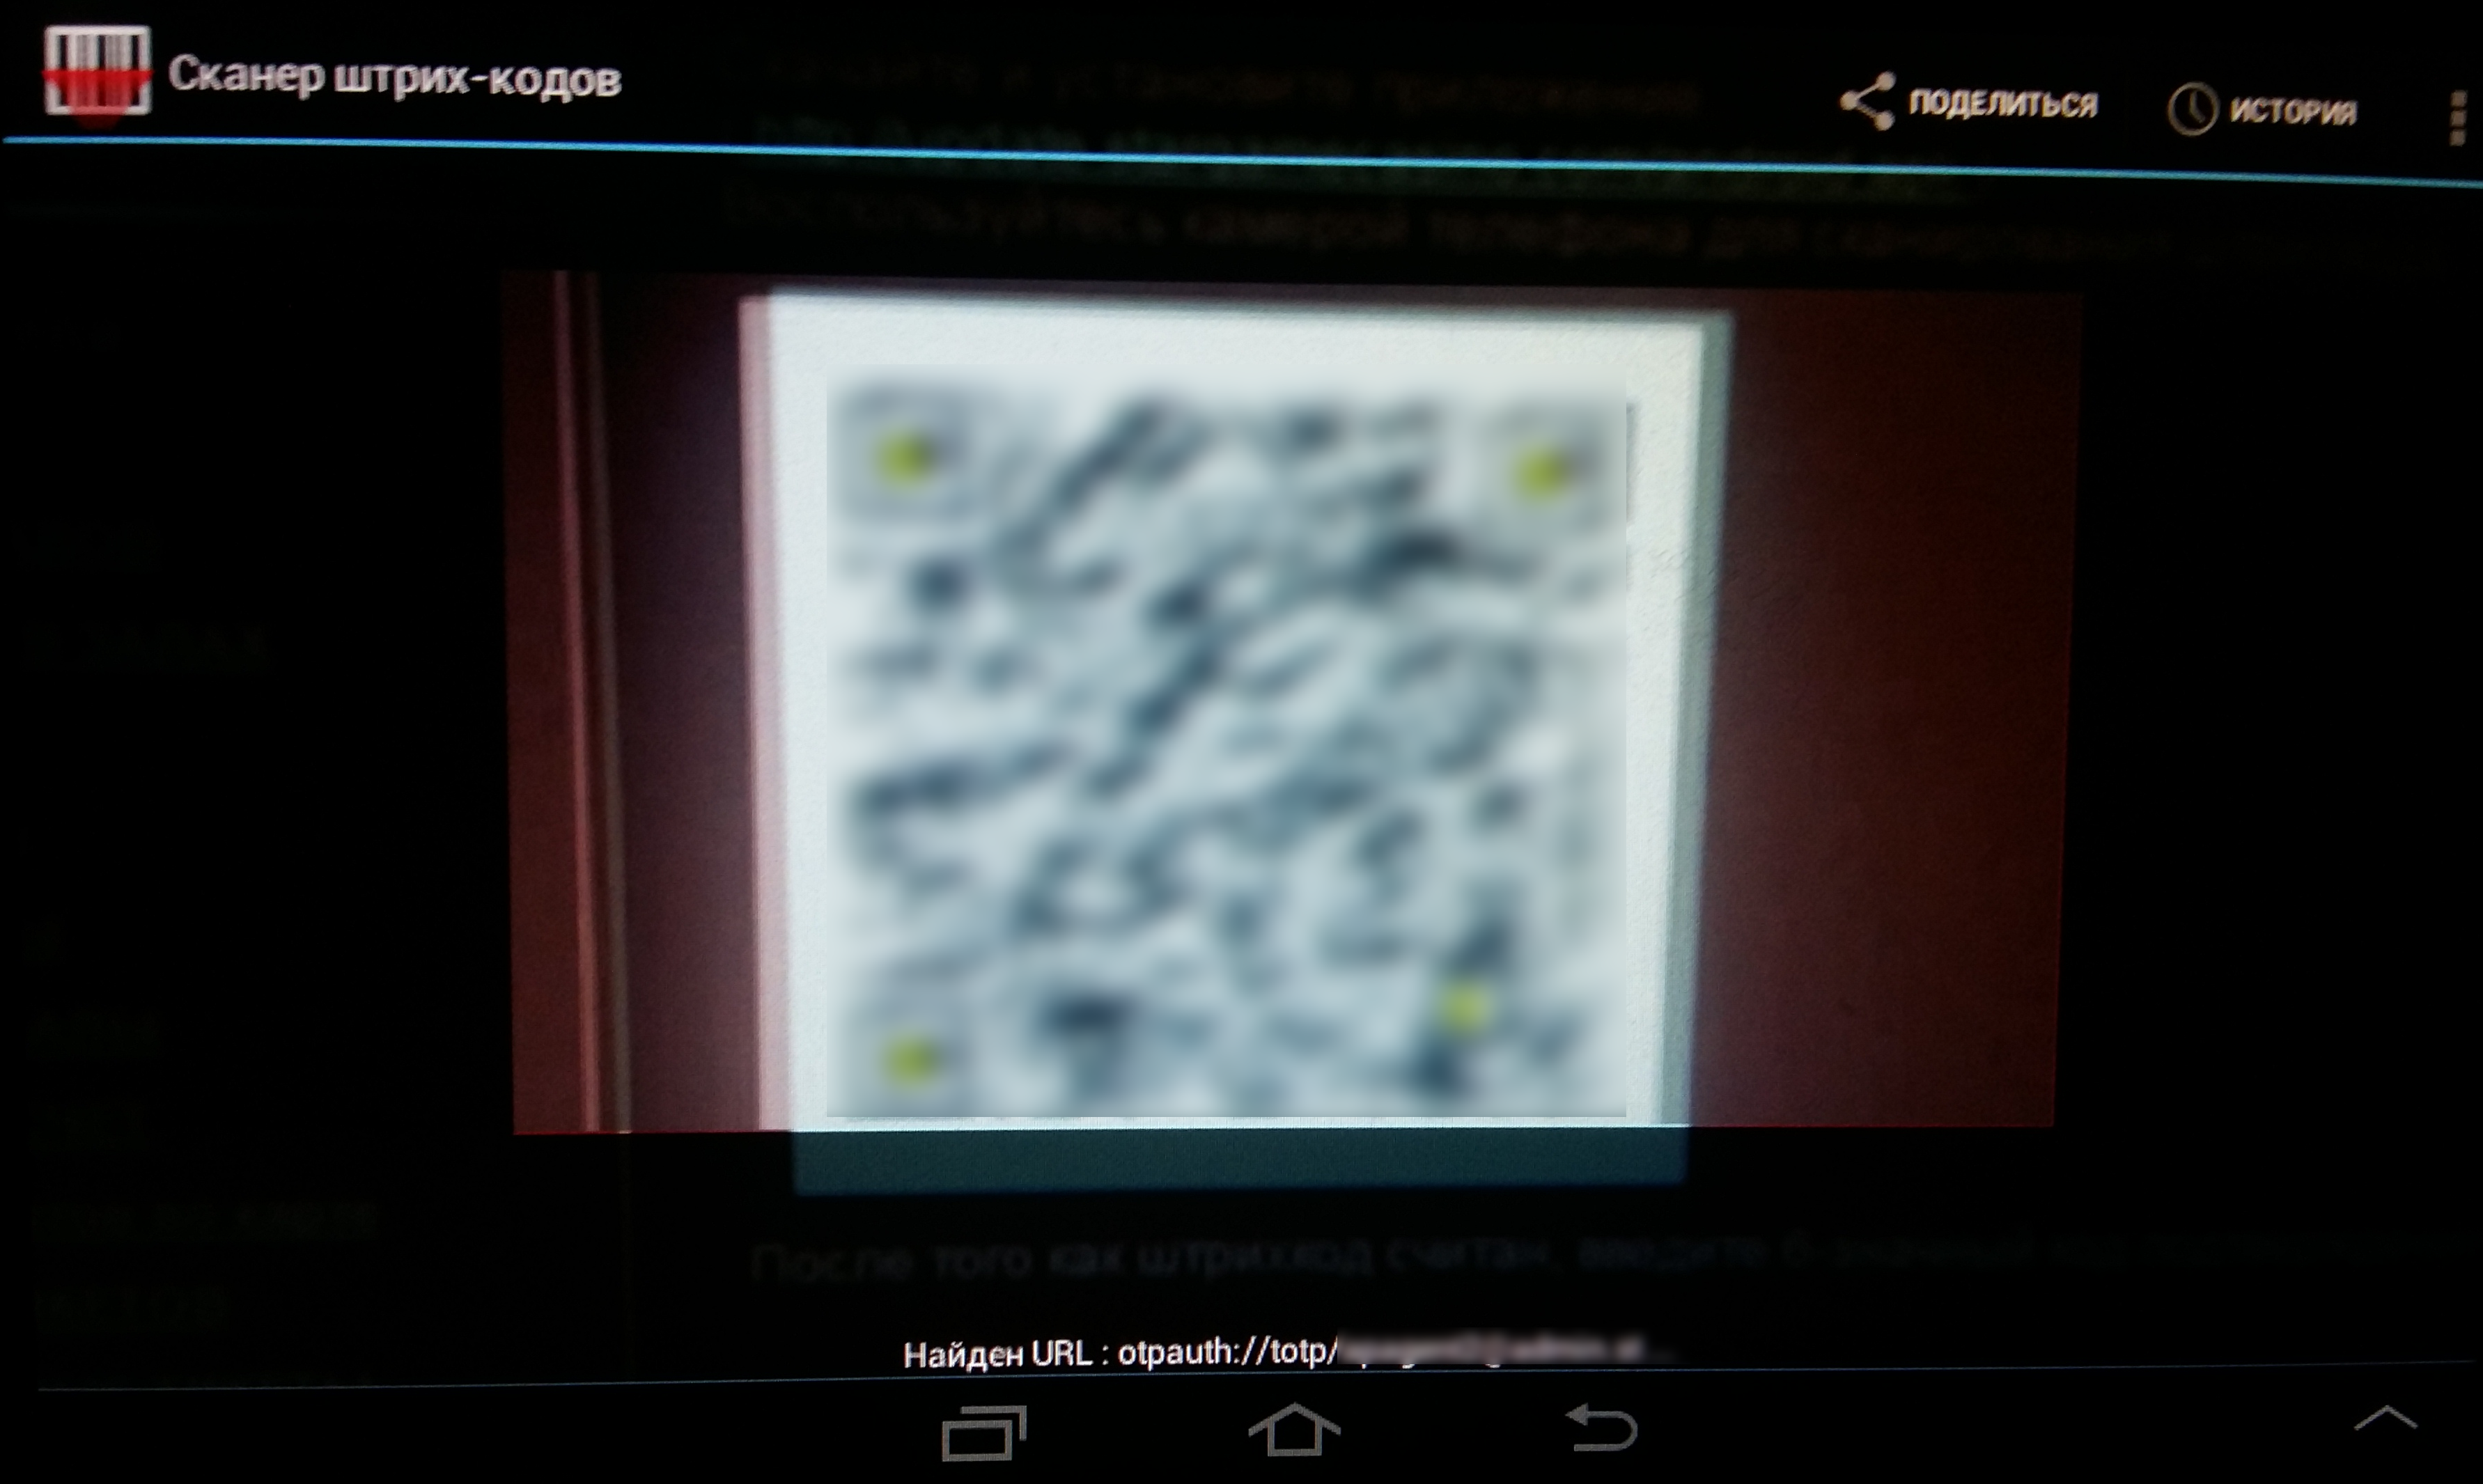
The camera of the device will start operating in the barcode scanning mode.
Open your account in a browser on your computer, and log in to the account using a valid password.
Select “OTP authorization” in the control menu.
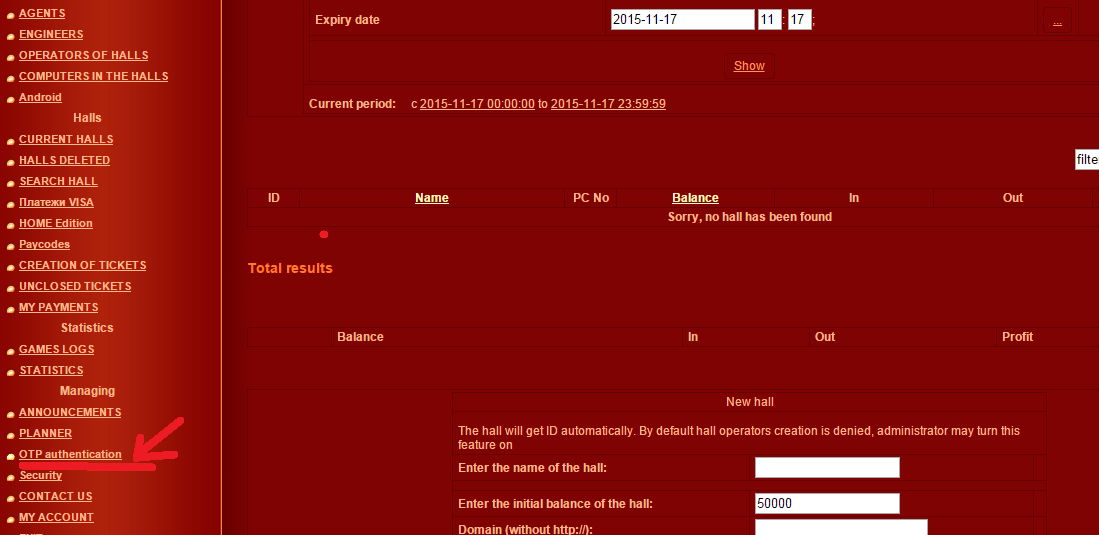
A page with a barcode will open.
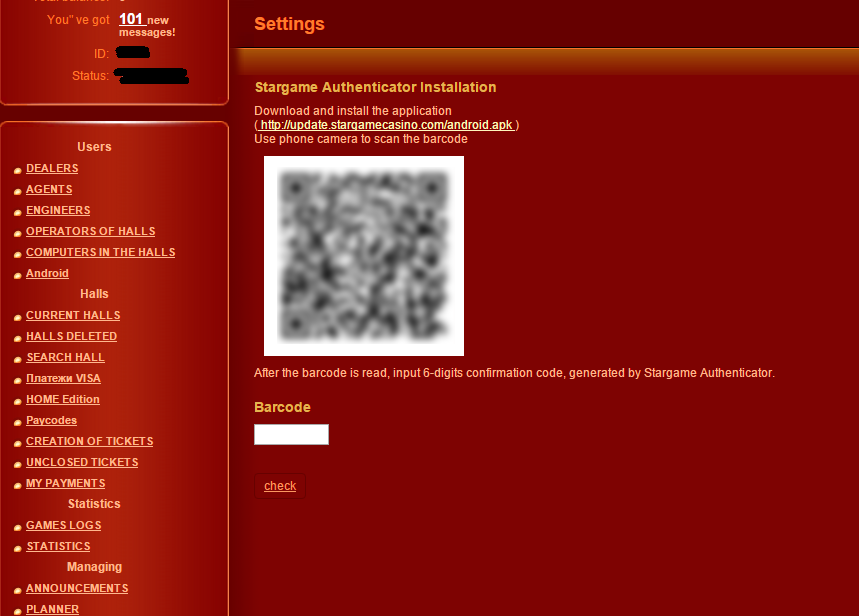
Point the camera of your phone at this image.

Wait until the barcode scanner recognizes the image and reads a code. No clicks are required. The barcode shall be scanned automatically.
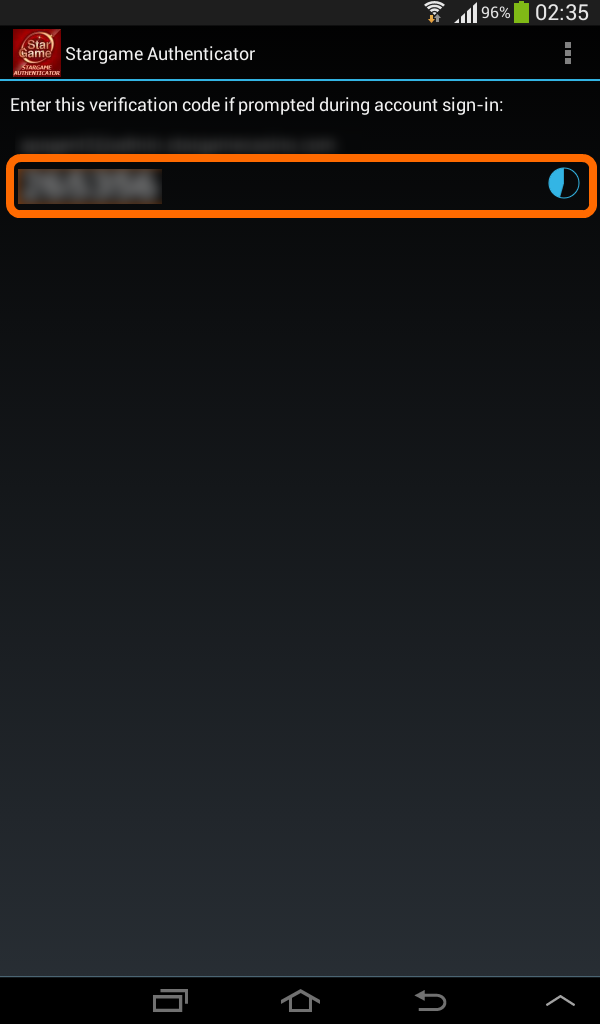
After that the camera will be turned off, and you will see a temporary code in the application window.
You should type it on the page with OTP settings in your account.
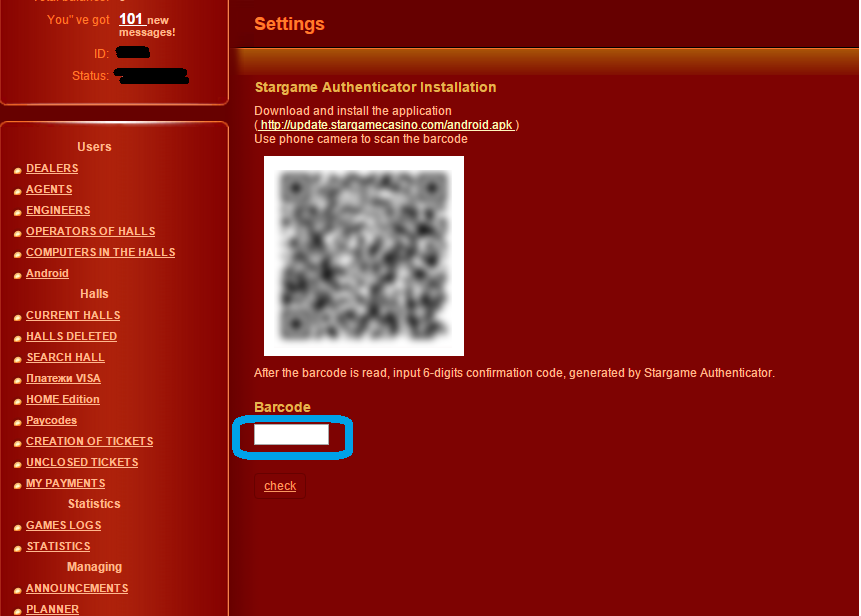
Press “Enter”.
Note: the temporary code is valid during several seconds. You need to enter the that is currently displayed on your device. There is a circle to the right of the code that is being painted blue. It shows time left for this code.
When the circle is completely painted blue, the valid code will be terminated and a new code will be created. Then new countdown starts. A number of codes is not limited, they will be terminated and created again and again.
When the code is successfully entered, you will see information of OTP authorization activation.
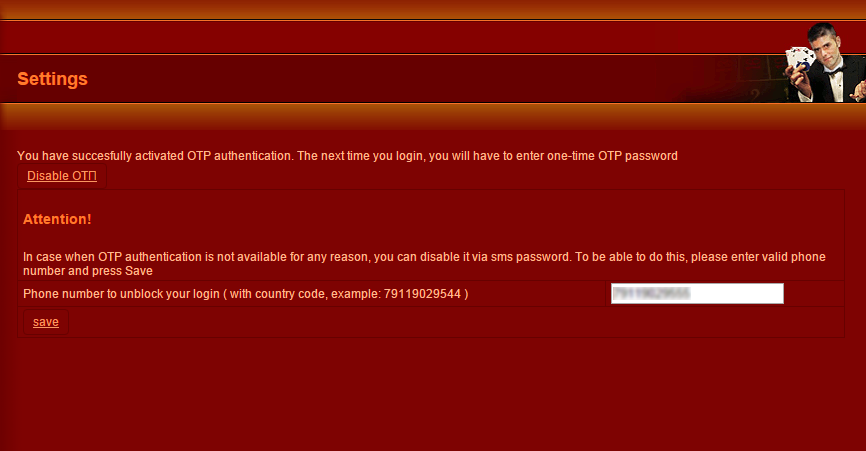
OTP authorization setting is finished. When you run “Authentificator”, you will see the valid temporary code.
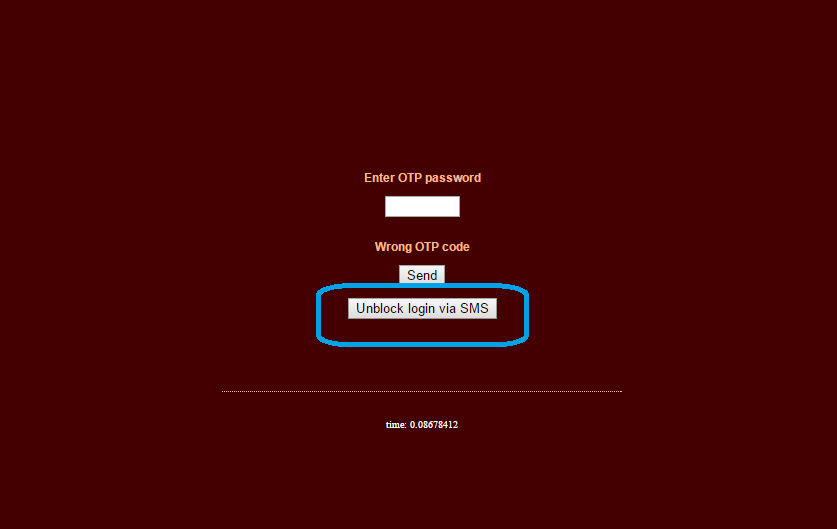
When you login to your account again, the page with entering OTP password will appear.
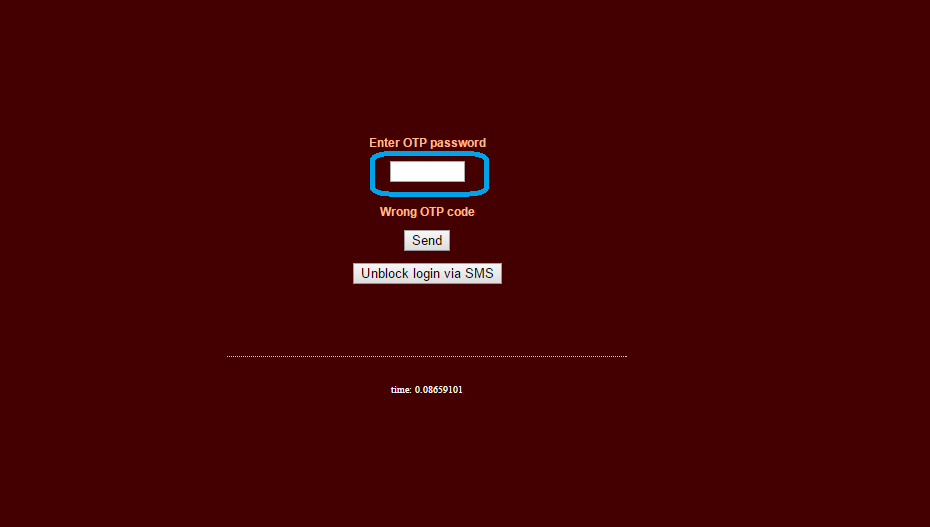
You need to run “Authentificator” on your Android device, there you will see a valid temporary code.

Enter it on the login page and click “Send”.

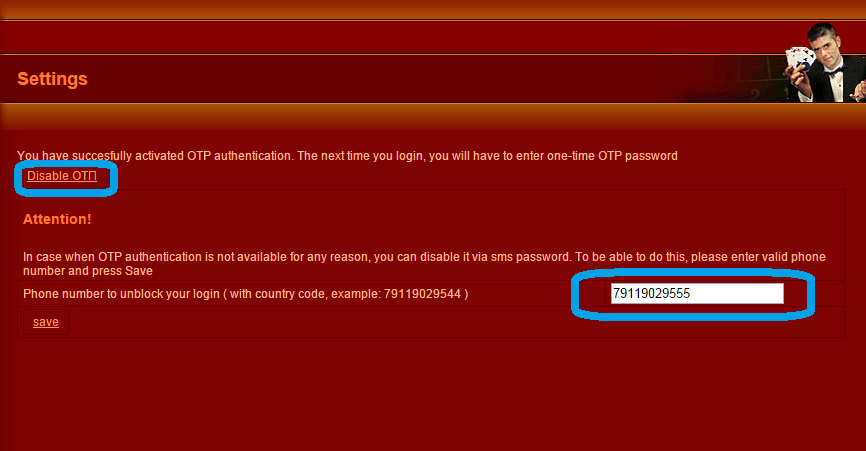
To disable OTP authorization go to the control menu, select “OTP authorization” and click “Disable”.
For additional security enter your phone number in the control menu in “OTP authorization”.
If you have any problems with OTP (failure of Internet connection, changing your phone, technical failure, etc.), you can disable ОТП by SMS, when you log in, and enable it again later.